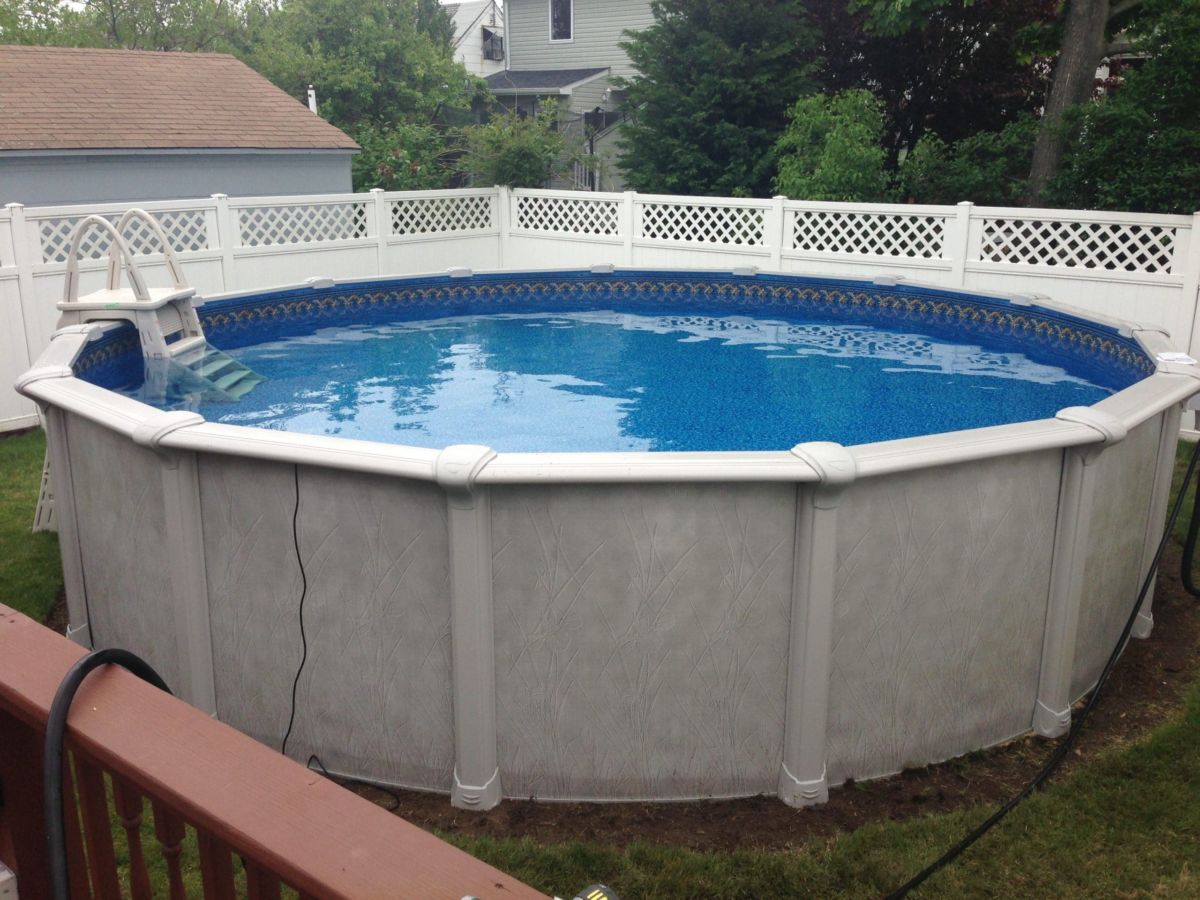
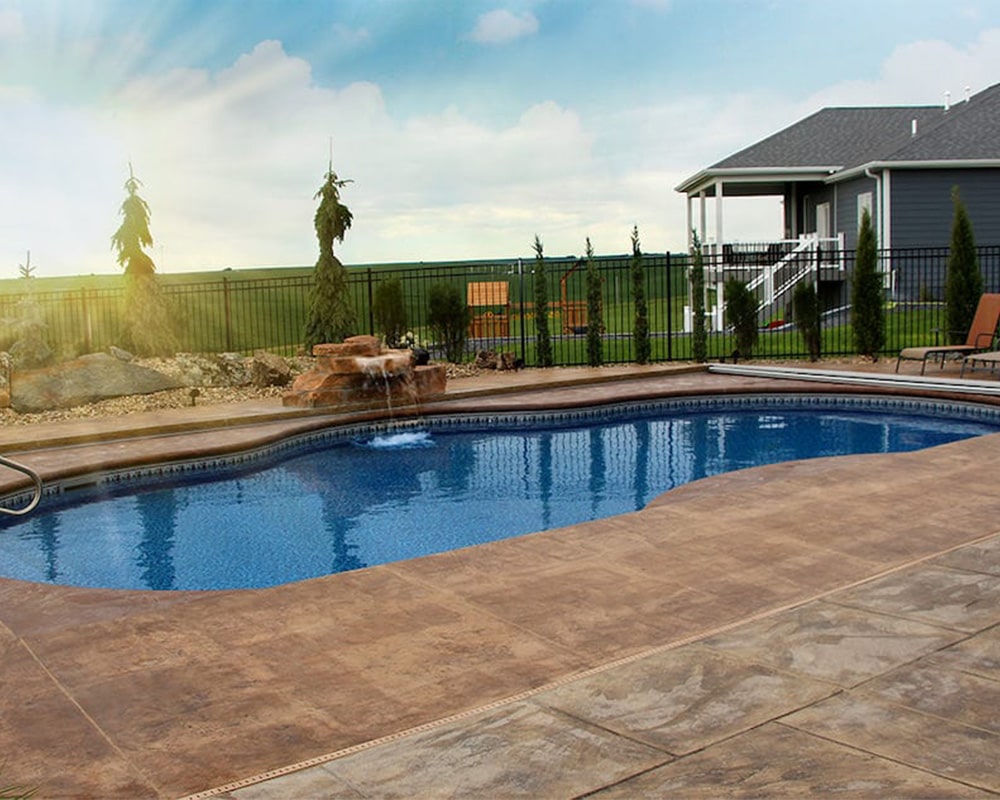
We want to make the DIY installation experience as easy as possible for you.
Watch this video for step-by-step tips on installing your Above Ground Pool!
What you’ll need:
- Drill
- Box Knife
- Masonry Sand (for leveling pool bottom – consult our Pool Owner’s Guide for how much you will need)
- Spray Paint
- Stakes
- Skid steer (or a wheelbarrow)
- Shovel
- Rebar (or stakes, enough for 2x each track piece)
- Pavers (enough for each pool foot plate)
- Bungee Cords (one for each paver, plus one)
- Transit (or laser level with readout)
- Small carpenter’s level
- Wide Trowel
- A Couple of Extra Hands
- Unbox your liner. Leave liner to sit in the sun and soften up for installation later on (Step 20).
- Mark off your pool site. Use a stake and tape to measure and find the radius. Use spray paint to mark the pool’s circumference. Make sure to factor in 2-3ft of extra space for over-dig.
- Bring in an extra hand. During excavation, have a helper assemble legs, pump & filter, and unbox any accessories.
- Excavate pool area. Excavate pool area to the appropriate grade.
- Adding sand. Bring in sand with a skid steer and level it out. Wheelbarrows, shovels, and a couple extra hands will knock this step out without the heavy equipment.
- Laying the track. Assemble the track/foot plates and lay around the marked circumference of your pool area.
- Placing pavers. Place pavers underneath each foot plate. Use transit (or laser level) to shoot level for each paver and set all of them within 1/8″ under each foot plate.
- Confirm paver placement. Using your original stake, confirm that each paver is at the exact radius of pool from the center.
- Setting the pavers. Fill in the space between the track and the ground with sand.
- Stake down track. In the center of each track, stake down the track with rebar on both the inside and outside at the radius.
- Confirm level of pavers. Use transit (or laser level) to write down the height of each paver. Find a number within the range and bring all pavers to the same height. Use a small level to make sure each paver is on level sand.
- Placing the pool wall. Open up the pool wall box and confirm that the bottom of the wall is on the ground. Place the rolled up wall on plywood in the center of your pool circumference.
- Position equipment holes. Position skimmer hole and return hole towards the spot where your equipment pad will be.
- Hold the wall in place. Bungee and stake the wall to 2 spots on the first paver to hold the wall in place.
- Rolling out the wall. While one person is helping roll out the pool wall front the center, another person should be securing the wall into the track. Bungee the outside of the pool wall to each paver.
- Finishing the pool wall. Button up the wall with screws and strip.
- Prep the sand. Prep the sand inside of the pool walls by creating a inclined “cove” up the inside wall of the pool about 10″.
- Begin backfill. Lightly backfill over the track 1 1/2″ up the pool wall.
- Smooth out the sand. Trowel the sand at the bottom of the pool to create a smooth surface for your liner to sit on.
- Installing the liner. Set the liner in the pool and hook the track into the wall slowly in one direction. You may want an extra hand for this part.
- Filling the pool. Begin filling the pool with water to help stretch out the liner while working out any remaining wrinkles by hand. Be careful to tread lightly to not create any footprints in the sand.
- Finishing the pool. Attach the legs, brackets, and caps all the way around the pool.
- Attaching the skimmer. Attach the skimmer to the side of the pool. Cut a hole for the skimmer and return with a box knife.
- Finishing the backfill. When the pool is at least halfway full of water, backfill at least 6″ up the pool wall to avoid washout from any future rain.
- Assemble your ladder and wait. Assemble your ladder and wait at least 3 days to place the ladder in the pool. This will prevent damage to your liner by allowing it to settle.
- Enjoy your pool! After all the work and waiting, it’s finally time to pat yourself on the back and cool off in your brand new swimming pool.
Resource Materials:
Buckingham Pool Installation Manual
Conquest Pool Installation Manual
Esprit Pool Installation Manual
Lagoon Pool Installation Manual
Panache Pool Installation Manual
Regency Pool Installation Manual
Synergy Pool Installation Manual
Want to learn more? Visit any one of our 5 locations to speak to one of our design specialists or shop our Above Ground Pools online.


